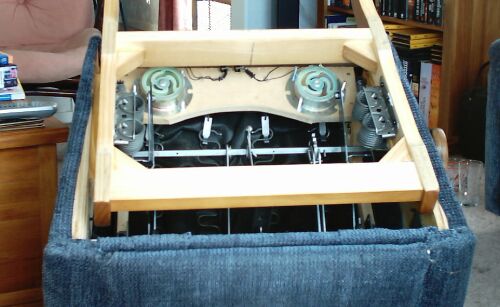
 Transducers installed in the chair
Here's some pictures of the transducers I installed in my main viewing La-z-boy. The transducers and amplifiers have been taken from the Aura Interactor gaming vest. I purchased two of the vests for NZ$15 from Jaycar. Each vest has a single transducer in it - basically a voicecoil with the diaphragm attached rigidly to the frame, so that whenever the voice coil moves, it causes the transducer and anything it is bolted to to shake like mad. The amplifiers are 20Watts or so into the 4 ohm load of each transducer. I run them from the subwoofer output of my NAD T752 receiver. Thus they receive a signal lowpassed at 80Hz with a 4th order crossover - this is essential for these type of shakers, otherwise you can hear (somewhat distorted) midrange such as dialogue from the chair!
Transducers installed in the chair
I installed them in the chair by screwing a couple of pieces of MDF as a riser to the sides of the seat part of the la-z-boy. I then screwed a piece of MDF across these two risers, with holes cut to mount the transducers. The transducers are then bolted in place. One thing to watch out for here is that you want to make sure that there is plenty of clearance, as the seated part in particular moves quite a bit once one is sitting on it, and you don't want to be able to feel that lump of wood when you sit down!
![]()
![]() Closeups of the left and right transducers
Closeups of the left and right transducers
The old amplifier modules consisted of a separately housed powersupply, thus I had a total of 4 separate housings with all the various hook ups and volume levels. I decided to mount everything together in a single nice looking enclosure with just a single power switch and volume control. It was made out of a combination of 6mm and 16mm MDF and finished by rounding off the main edges, and painted with a black gloss spray.
 Front of the enclosure with power switch, LED indicator, and volume control
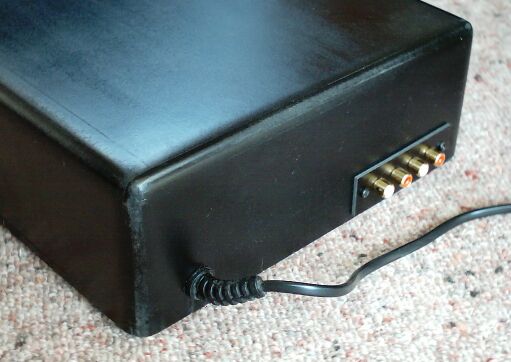 Rear of the enclosure with power lead, stereo input, and shaker outputs
The bottom panel is secured via the screws on the small rubber feet, and gives access to the electronics.
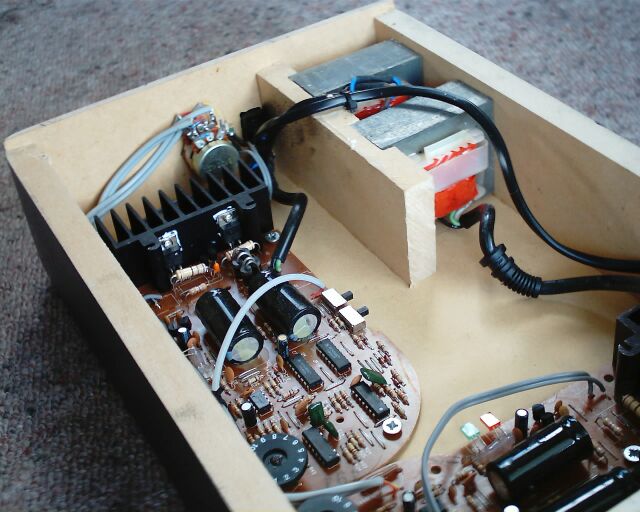
 All electronics assembled in the single enclosure
I basically just removed all the enclosures, and placed them all in the single box. I removed the single volume pots on each amp module and ran leads to the stereo volume pot on the front panel. I also shorted the power switch that was incorporated in the original volume pots. I then ran the transformers off a single AC lead and switched this via the switch on the front panel. The input and output connectors were removed and replaced with leads to a set of 4 RCAs on the back panel. I have hooked it up so the amplifier is fully stereo, and the left and right inputs are tied together so as it accepts a mono signal. If I ever want to go to a full stereo shaker, I can just remove the jumping wires across the 2 input RCAs. (I don't know if ones rear could reliably tell the difference though!!)I also removed one of the power indicator LEDs and ran wires to an LED on the front panel so as to give a visual indication that the amp is on. I then reused the output RCA plugs as the input plugs on the chair so that it can be easily disconnected from the amp for moving etc.
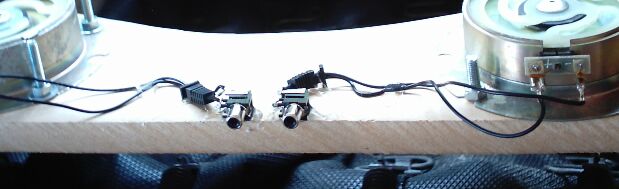 RCA connectors mounted on chair to hookup to the amplifier
All up this project has cost around NZ$45 or so including the paint, timber and shakers. Is it worth it? Definitely. The estra low end you feel gives movies that extra something and certainly enhances the experience. It's fun to sit visitors in the chair and watching a movie without telling them it is on - invariably the outcome is a pleasant surprise. Note that the levels do need to be set fairly carefully. You want the effect to only really come on during the big hitting explosive scenes - not whilst some nice dialog is happening!!
Hope you enjoyed the site. For more info, contact me via the link to your left.